Thursday, January 26, 2012

Patterns

Considering my poor memory and my unwillingness to look back at my past posts I can't recall as to whether or not you are aware of my (much too quickly) upcoming nuptials.  I'm to be married August 18th to the man who has fulfilled every wish I ever had for a husband. At the risk of gushing, he truly is the man of my dreams.
We've planned a Victorian style wedding which makes the traditional white dress from the bridal shop a not going to happen.  Instead I have grand plans of making my own gown, and the pattens of which I will be using arrived today.  Now I just need to start panicking about fabric.  I can't find the perfect shade of iridescent peacock blue/green, but when I found an "it will do" shade, it ended up being $40 dollars a yard.  (Falls into faint, somebody bring the smelling salts!)  Oh, did I mention that I need 12 yards of one color and 5 of another? So the search continues...until I panic and decide I may as well pay the $40.

Anyway, I wanted to share these wonderful patterns that I got from Truly Victorian.   Their patterns are historically correct while being modified to come together rather easily.  The patterns are provided on thick butcher paper with a multitude of sizes available and are fairly reasonably priced as far as non-mass market patterns go.  Pardon my blurry photos while I show you what I've got to look forward to.
We begin from the foundation up.  This is the petticoat that has channels that will hold these.
These are my bum wires that will provide the support for my bodacious bustle.

My bodice.  I'll be altering this to just have  a hint of ruffle and flower at the straps rather than sleeves.  I want my neckline rather simple because one of my "borrowed" items is going to be vintage pearls from Lewis' side of the family. 
A four gored skirt pattern, I'm making mine like the small inset version in the upper right corner, I'll be adding so much other stuff, I'm keeping it's lines fairly simple.
Sorry this picture turned out the worst.  This is the butterfly bustle that I'm going to wear for the ceremony.  It's completely detachable so it will get taken off and replaced with an over skirt (of which I forgot to take pictures of) for the celebrating afterwards to make it more convenient. 
I wish I could find the fabric for it so I can get to work, but at least I can start the petticoats.  More wedding preparations to follow. 
 

Tuesday, January 10, 2012

Done and Gifted - First Finish for 2012

It's been done for a while, but it finally went to it's new owner.  Unfortunately I didn't get any pictures of the full quilt due to space restrictions but trust me that it turned out quite cute on the whole.
 The little boy I made this for just turned 3 months old...how embarrassing, but oh well, better late than never right?
 After it was all put together I questioned my choice of all that cream on the front.  Just from me carting it around to work on it, it had developed dirty spots.  Too late though, I'd already promised it.  I ended up feeling the need to wash it though before gifting and was so glad I did, it crinkled up nicely, hiding any quilting mishaps that may...or may not have occurred.  After I took it out of the dryer I didn't want to give it away I liked it so much. 

 The back, I love this fabric, I was lucky enough to pick this up off the %75off rack at work.  Too cute, and just perfect for a little boy.
So there is my first finished quilt for 2012.  Hope you like.

Monday, December 19, 2011

Just About...

I hate to say how long this quilt has been in the works, so I won't, but I started it for an expectant friend and the ittle bittle boy child has since made his appearance.  So, high time I get this finished right?  Right!

Wednesday, December 14, 2011

Finished bracelet

I mentioned a while back that I was working on a bracelet.  I finished it a while back but never posted the finished product.  Here it is in all it's glory. 
I can't recall the exact name of the pattern and I'm too lazy to go find it but it had something to do with shutters and used Tila beads.  I really like how it turned out.
 It uses a standard shank button for the closure.
My new project is a necklace in matching colors.

Sunday, December 11, 2011

Flaps on Mittens = Flittens

My daughter has been complaining of how cold her hands get as she walks home from the school bus stop.  I discovered that it was her way of hinting that I needed to get my knitting needles out.

She had a specific idea on what she wanted to keep her hands warm, either a pair of knitted gloves or mittens with flaps so she could have her fingers free if needs be.  Not feeling up to the task of knitting ten fingers I vetoed the gloves but rather liked the latter idea which we have dubbed as flittens.
The two of us snuggled up on the bed one night and did a search on Ravelry and found a pattern that suited both of us.  Me for simplicity and her for looks.
I used Red Heart Soft yarn in Teal on three size 4 needles to make these.  It's worked up really easily and I only split the ply in a couple of places.  They're about done, I just need to finish the flaps. 

Monday, November 14, 2011

A Re-usable Shopping Bag

I'm so behind with everything.  I've managed to injure my arm at work.  Honestly I think I have tennis elbow from pulling and pushing bolts of fabric around all day.  I've no time nor $$ for the Dr. right now so I'm wrapping it and icing it.  I have to moderate my projects so I don't put any further strain on  my arm so projects aren't going nearly as quickly as I would like.
I came across a heavyweight woven cotton at work that isn't quite right for quilts.  I know it will be overlooked, so I thought a quick project to turn it into something useful would be rather fun.
 So I came up with this. A re-useable shopping bag from a half yard of fabric.  Simple to make with two side seams, two strap seams and the edge finishing.
 What makes it look a bit fancier is the fact that I used some wooly poly and a rolled hem on the serger to create the edge "folds" 
A bit of pressing and ta-da, it looks every bit as good, if not better as one you buy from the store.  I still need to work out something stiff to put in the bottom though, I have an abundance of cardboard but don't like how it breaks so easily.  Any ideas?

Sunday, November 6, 2011

Current Project

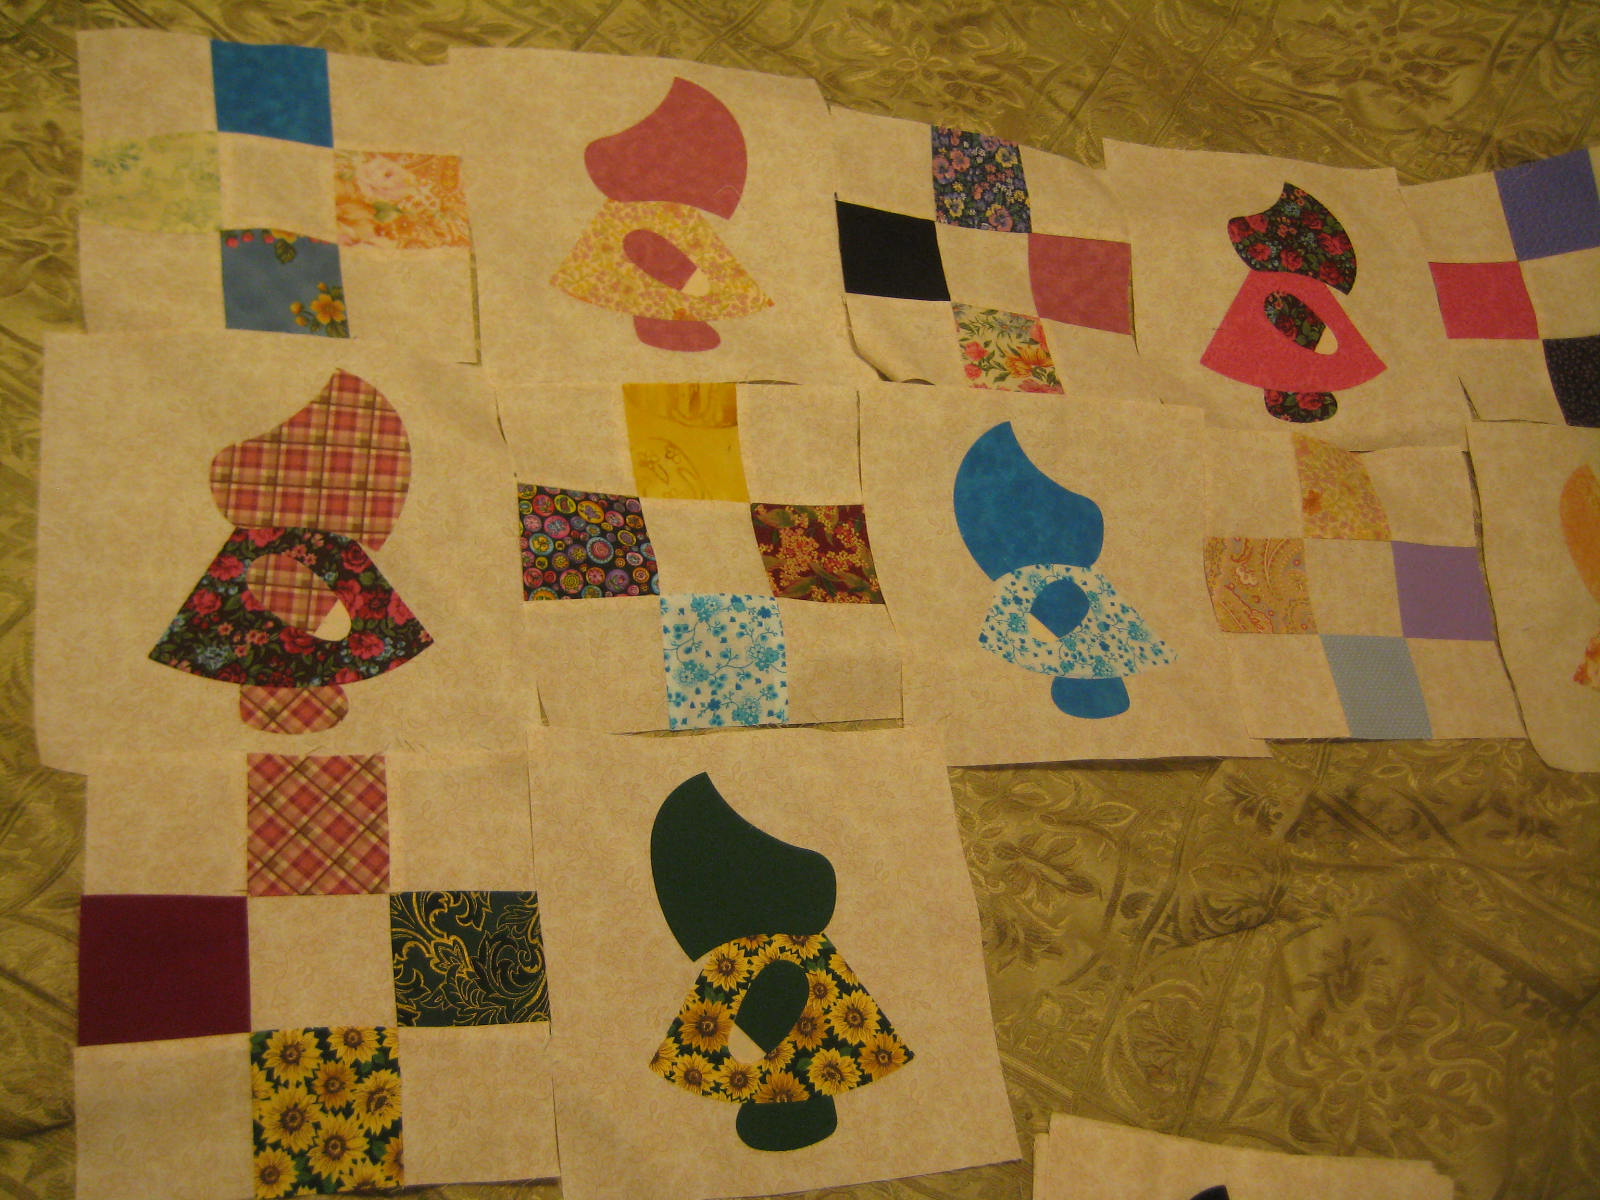
Ok, because Brandie in her genius is inspiring and to prove that I am not without a current sewing project I introduce you to Sunbonnet Sue.
Once again I am getting pictures with horrid lights.  That's one of my issues with this time of year (I have a few issues with it), by the time I get home and get sewing done it's dark. The colors aren't nearly this dark in real life.
 Here's my planned layout at the moment.  I will admit that I borrowed this whole idea from a lady at work who made a darling version.  Can I just offer up a halleluja and praise be for the Go! Cutter?  If I had to cut out each girl with scissors...I wouldn't. 
 I've used about 50/50 scraps and new fabrics.  They all have fusible, some with Heat n' Bond and some with Steam a Seam 2.  Personal experience tells me that the latter is far superior for this application and although it's significantly more expensive it is well worth it.
The plan is to embellish the bonnets with a mixture of ric-rac and decorative stitches then to do a machine blanket stitch around all the edges.   More to come on these little ladies.  

Friday, November 4, 2011

Beads!

Given the length of time it takes me to complete one project, I need another like I need another pet, but when I happened upon a bead store I had not known about up until now I just couldn't resist stopping in.  Big mistake, but I'm so glad I did.
They have monthly projects that if you buy the supplies from them, they'll do one on one instructions with you for free.  Check out these adorable bracelets that they had for the month of October. 
 The pattern is called Shut the Shutters  and they're made with Tila beads, flat beads with two holes and tiny size 15 seed beads.  The clasp is a beaded loop and a fancy button.
 I fell in love with this green one but decided to go with a more sedate look for my first attempt.
 We got in just in time too, Saturday night after I got off work I called to see what time they closed, I had two hours, so Alayssa and I dashed over for a girls night out.

They work up fairly quickly.  Here are our efforts so far, Alayssa's is the natural one.  Sorry about the poor picture quality, night pics are never pretty but if I wait until daylight to post it won't happen. 
I'm hooked and I'm excited for Novembers project as well as some of the classes they offer.  Want to see what November's project will be?
Pretty pretty!!!!  I love necklaces...even if I hardly ever wear them.  I love these gorgeous fall colors, these necklaces are made with seed beads and crystals.
 Another favorite color combination, it makes me think of grape vines (and wine!)

Wednesday, November 2, 2011

Tin Lizzy 18 Trunk Show

Janie Donaldson Mullen from Quilt Central TV came to visit our shop and brought some beautiful wall hangings with her to show.  They were so amazing, I thought I'd share them with you.  
 
 This rooster wall hanging combines a hand painted background with silk fabrics and thread painting.  I think he was my favorite.
This is what he looks like on the back. 
 Here she hand painted her own fabric again then did the quilting and applied Swarovski crystals.
 She also used up her odds and ends bobbins, so this is what the back looked like.  Amazing huh?

 Another hand painted fabric accented with crystals.
And the back.

 Here is a quilted still life. 

 I loved this one with all the cogs and gears.   I'm totally going to make something like this.

 Handpainted fabric to resemble morning glories.  She described the technique and I'm dying (hee hee hee)  to try it.

 This one used a combination of hand painted fabric and cutout techniques. It made me thing of Georgia O'keef.


Here's a beautiful Mariners Compass

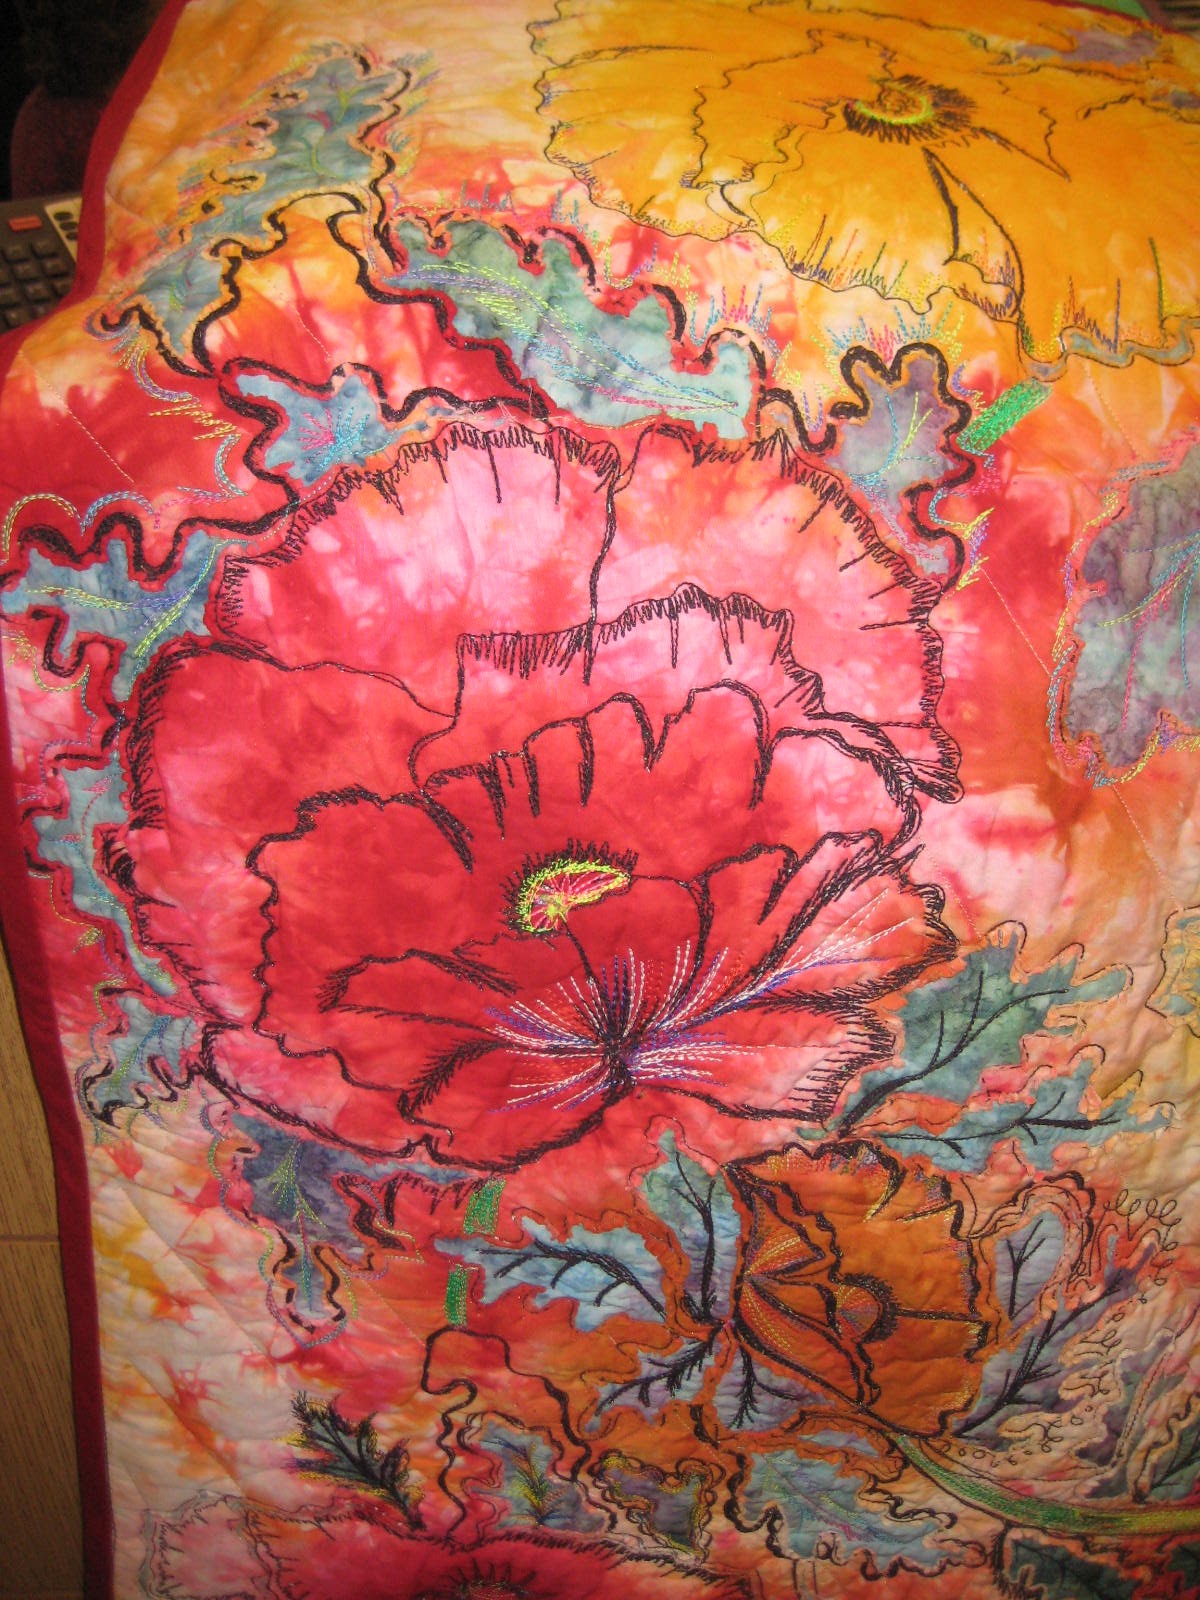
 This was the only full size quilt she brought (you can fit more wall hangings in luggage)  It's actually going to Grandmother Floyd (the wife/mother of the creators of the Tin Lizzie machines.)  She used a variation on a Ricky Tims technique to make this one.  Oh La, isn't it a beauty!
 
 Here's the back.

 And some closeups of some sections. 
 Beautiful eh?

Thanks for stopping by, I hope you enjoyed my little quilt show.  It was so amazing to get to see these in person and hold them.  I've got lots of ideas, now to see how far the ideas go!
Monday, October 31, 2011

A Day at the Farm

During the summer months, our area has several farmers markets, they range from just a handful of vendors that set up in an empty parking lot to about a hundred different vendors spread over an entire park as well as everything in between of course.  The big one is on Saturdays which means I usually don't get to go since I work and it's not as fun because it's so crowded that you're elbow to elbow with the crowd and get pushed along in mass so it's difficult to enjoy yourself. 
Rather late in the season we discovered a mid size one that had probably fifty vendors and isn't as well known which made it much more fun.  The best thing was it was held on Sundays and at Wheeler Farm, a functional farm in the middle of the city.  It's a taste (smell) of my childhood home.   The Farmers Market had their last day this Sunday, but the farm is still open.

 There are chickens
 Turkeys (we think they may end up as Thanksgiving or Christmas dinner for the people that work at the farm, but don't tell them that.)
 Billy Goats Gruff.  (This guy likes pickled green beans, but don't ask me how I know.)
 Two little piggies, I didn't dare ask what happened to the third one.
 This sweet little Gurnsey (I think, it may be a Jersey) calf. 
 More chickens...I like chickens!
 
Pretty calico colored sheep in the fields
 And pretty tabby kitties perched on top of the barn roof

There's spots for a bit of cuddling.

 And trees for a bit of climbing.


And the occasional interesting vehicle.  This is, as my daughter put it, the "shag mobile".